Installing Searchanise manually via FTP
To install the plugin, follow these steps:
- Download the plugin zip archive from here by clicking the Download button.
- Extract the archive to your computer. You’ll get a folder named smart-search-for-woocommerce with many files in it.
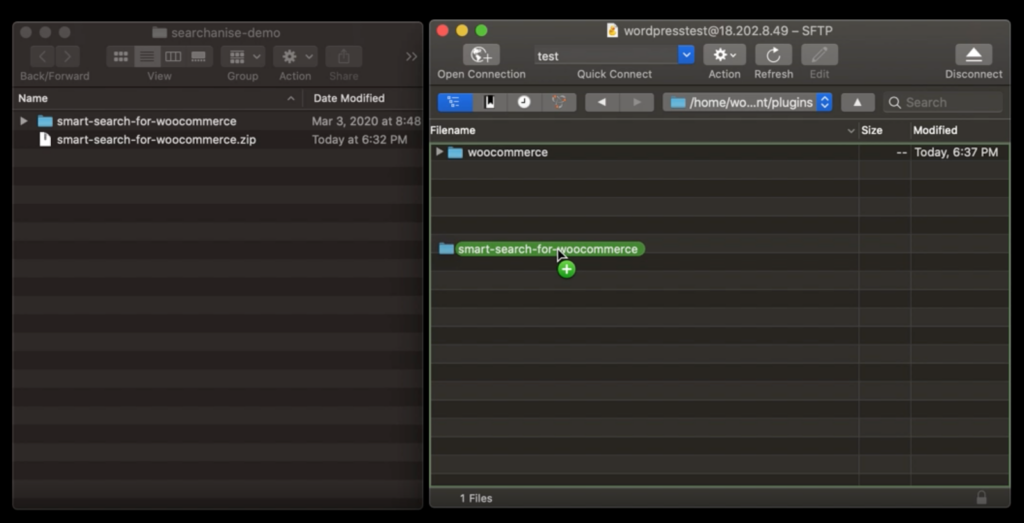
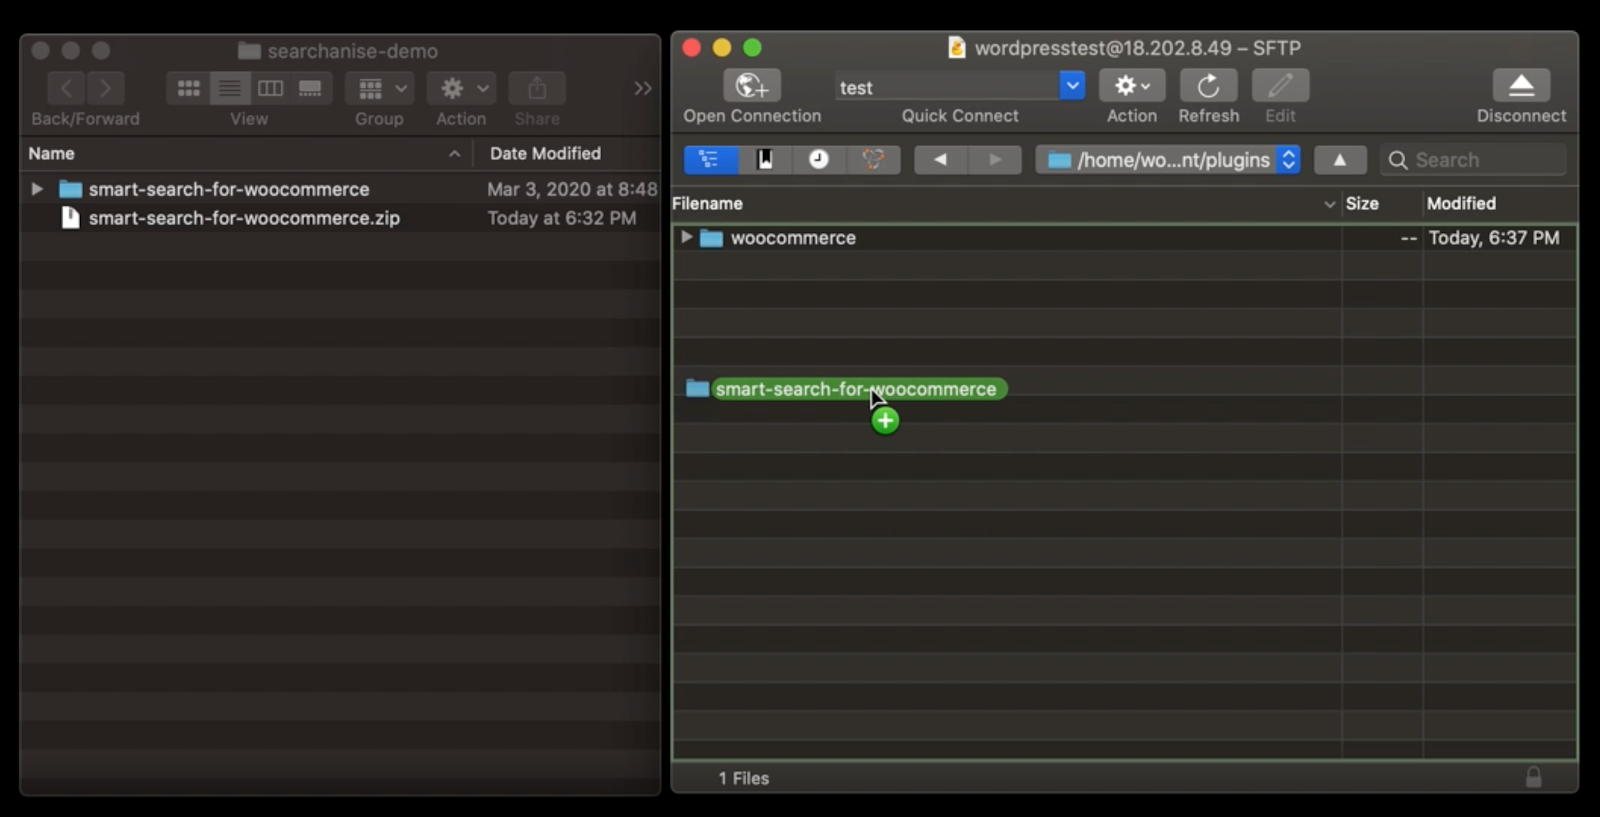
- Open an FTP client on your computer and access your website using FTP/SFTP credentials. Contact your hosting provider to obtain them if you don’t have any.
- Go to the /wp-content/plugins/ directory of your website and upload the folder you have extracted at step 2.
- Log in to your WordPress admin panel.
- Go to Plugins > Installed plugins and find Smart WooCommerce Search by Searchanise. It’s already there!
- Activate the plugin.
That’s it. Now you can go to WordPress admin panel >WooCommerce > Searchanise, and you’ll see the indexation of your WooCommrece store starting.
Configuring and Using Searchanise
- WooCommerce > Settings > Searchanise > General
Here, you can modify the Searchanise plugin settings in WooCommerce. For example, you can change parameters like Search input jQuery selector, Use Searchanise for Full-text search, Sync catalog, Use direct image links, Import blog posts, and other settings.
More details about all the settings can be found at https://docs.searchanise.io/searchanise-settings-woocommerce/
- WooCommerce > Searchanise
To work with styles and direct settings of the Searchanise plugin, for instance, to start using the Search Result Widget (SRW) page, simply go to Search & Navigation > Search result widgets > Enable widgets and trigger a force re-index.
For more detailed information, refer to https://docs.searchanise.io/article-categories/woocommerce/