Before the installation, check the version of your WooCommerce plugin. You can find it in your WordPress admin panel > Plugins > Installed plugins. If it’s 3.0.0 or later, you’re good to go.
You can install Smart WooCommerce Search by Searchanise in 3 ways – two simple ways and the advanced one.
Installing Searchanise through WordPress plugin search
It’s the easiest way. All you need to do is to follow these steps:
- Log in to the WordPress admin panel.
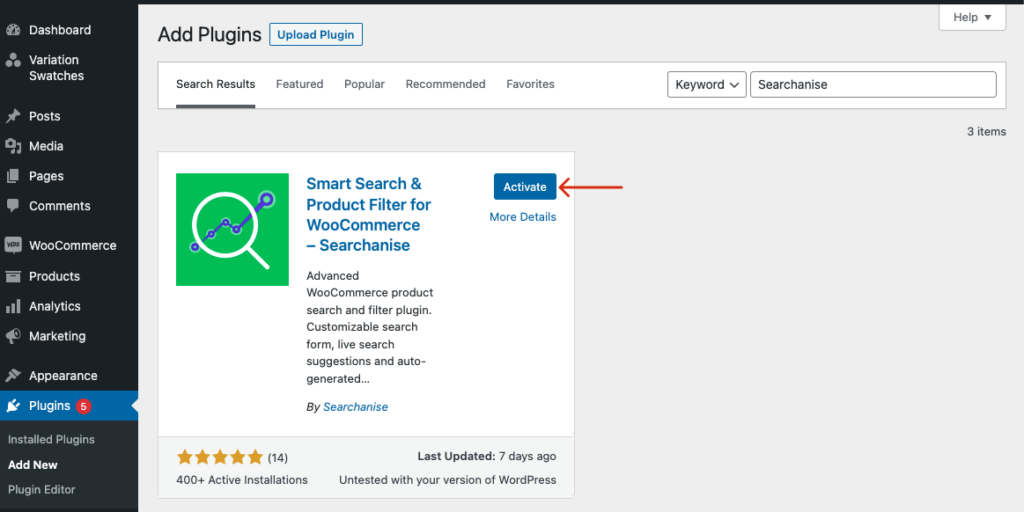
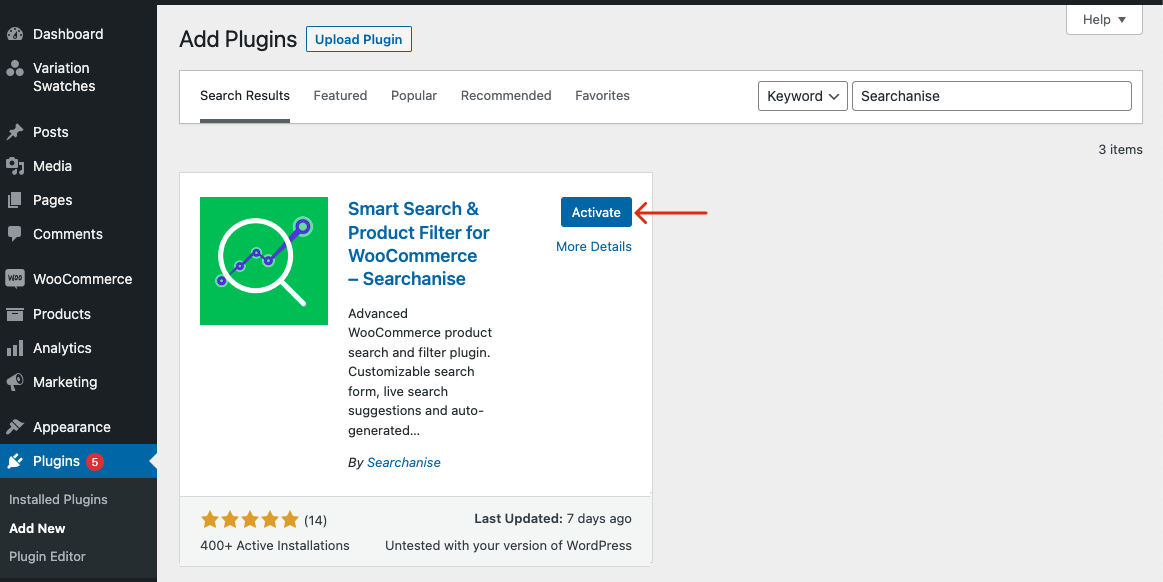
- Go to Plugins > Add new and enter Searchanise into the search bar in the top-right corner.
- Click the Install now button and wait a couple of seconds for the plugin to be installed.
- Click the Activate button. Indexation of your WooCommrece store will be started.

That’s it. Searchanise is installed and you can go play with its settings. You can find the Searchanise control panel in the WordPress admin panel > Products > Searchanise.
Installing Searchanise through WordPress admin plugin upload
This way to install is as pretty simple as the first one. Just do the following steps:
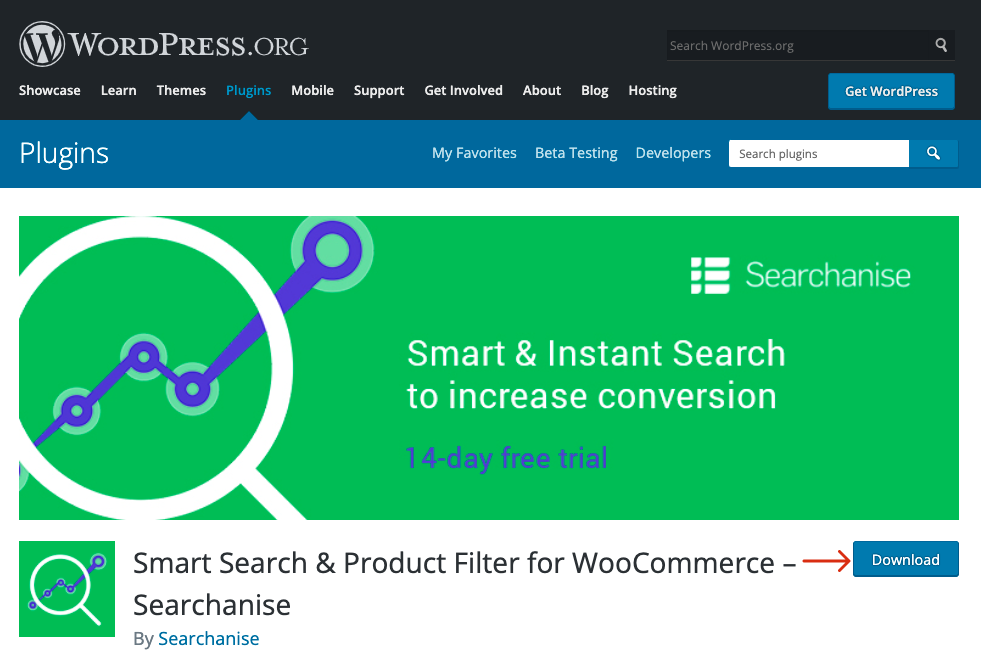
- Download the plugin zip archive from here by clicking the Download button.
- Log in to your WordPress admin panel.
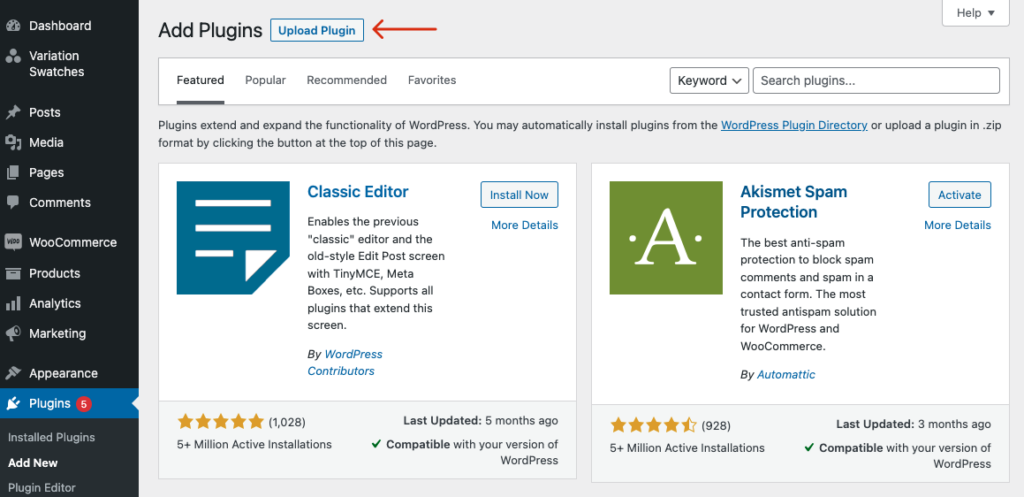
- Go to Plugins > Add new and click Upload plugin at the top of the page.
- Browse and select the smart-search-for-woocommerce.zip archive you have downloaded earlier.
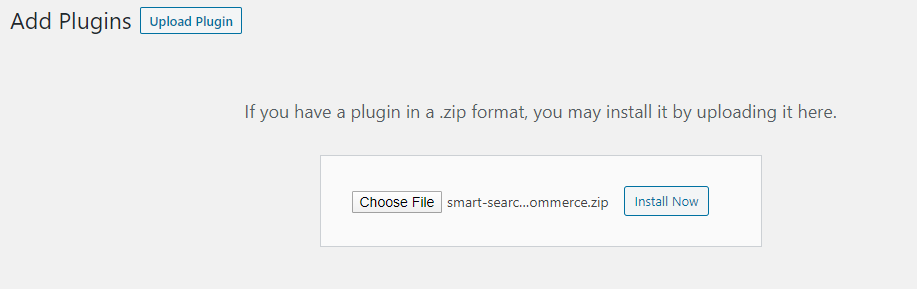
- Click the Install now button and wait a second.
- Click Activate plugin as the installation is done. Indexation of your WooCommrece store will be started.

That’s it. Now you can go to WordPress admin panel > Products > Searchanise to start setting up the plugin you installed so easily.
Installing Searchanise manually through FTP
This way to install is a bit harder than the previous two. However, it can be handy if your provider has file restrictions to prevent you from installing a plugin from the admin area.
To install the plugin, follow these steps:
- Download the plugin zip archive from here by clicking the Download button.
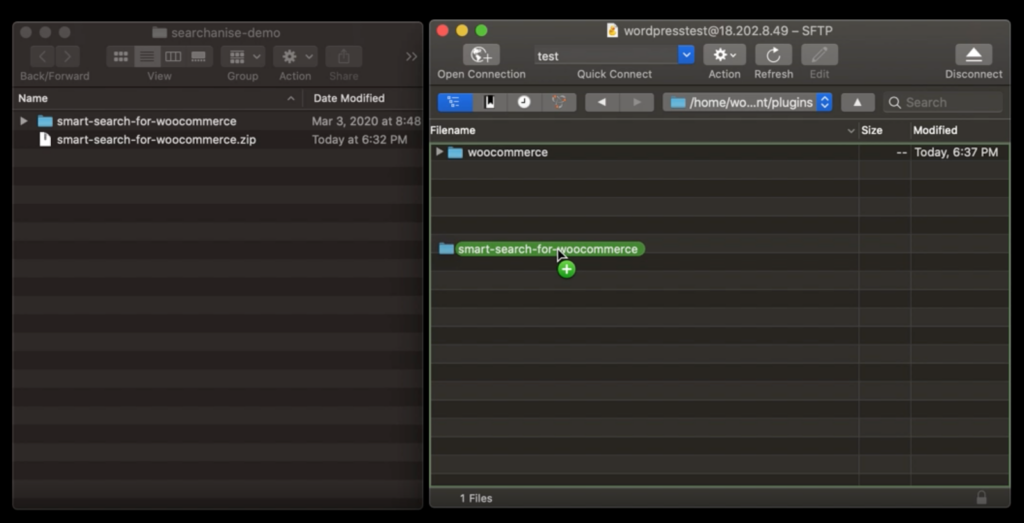
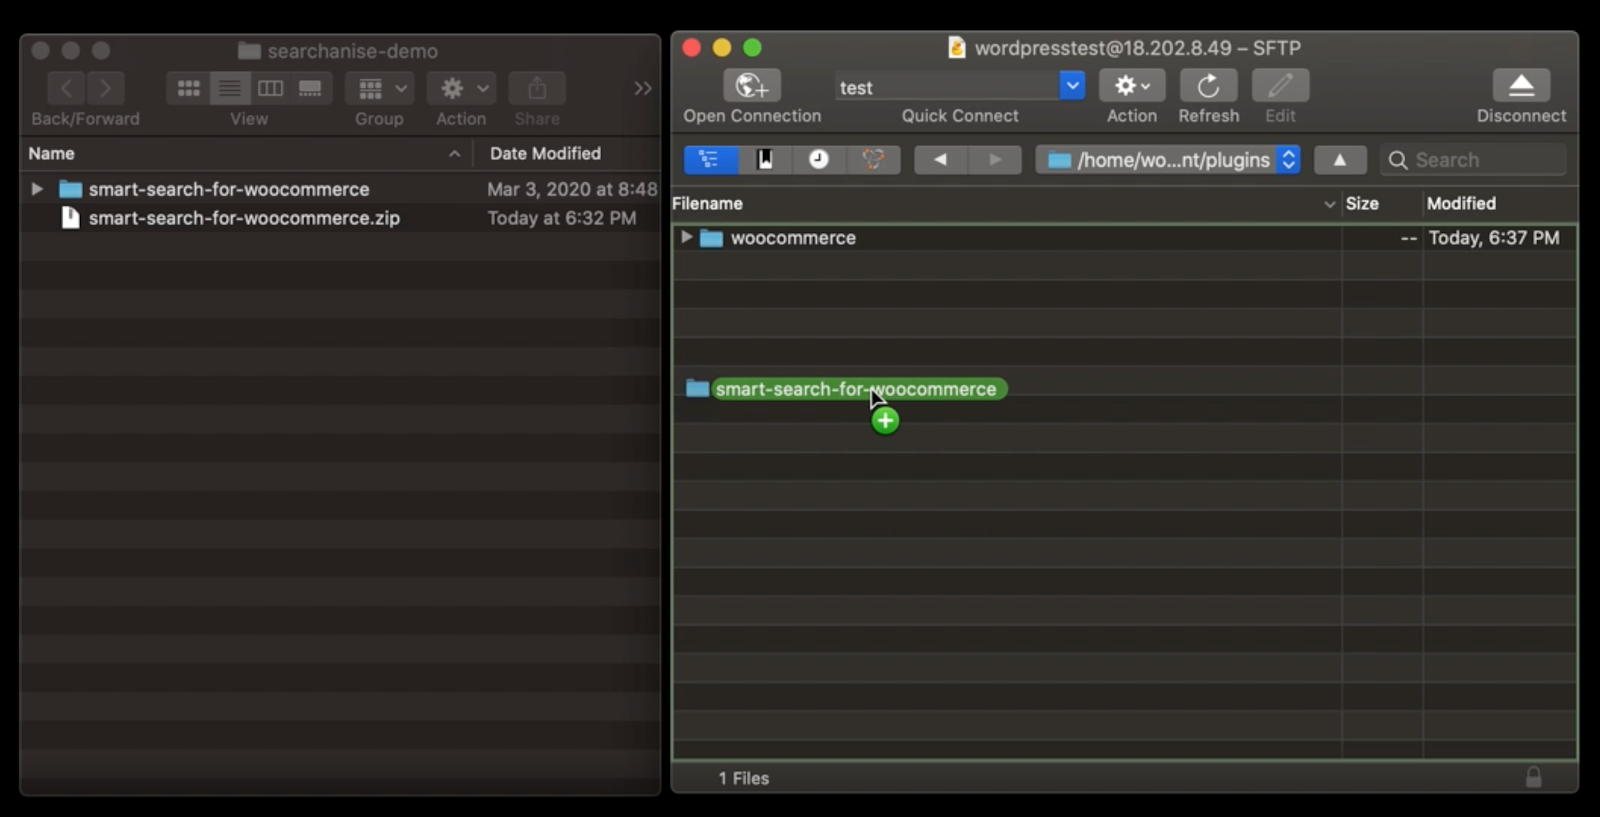
- Extract the archive to your computer. You’ll get a folder named smart-search-for-woocommerce with a bunch of files in it.
- Open the FTP client on your computer and access your website with FTP/SFTP credentials. Contact your hosting provider to obtain them if you don’t have any.
- Go to the /wp-content/plugins/ directory of your website and upload the folder you have extracted at step 2.
- Log in to your WordPress admin panel.
- Go to Plugins > Installed plugins and find Smart WooCommerce Search by Searchanise. It’s already there!
- Activate the plugin. Indexation of your WooCommrece store will be started.
That’s it. Now you can go to WordPress admin panel > Products > Searchanise (the plugin v. 1.0.11 or earlier) or WordPress admin panel >WooCommerce > Searchanise (v. 1.0.12 or later) to start setting up the plugin you installed.
We’d appreciate it if you could take some time to leave a review.