Filter trees are available only for Shopify: current plans, the Game-Changer Full, and the Advanced plans.
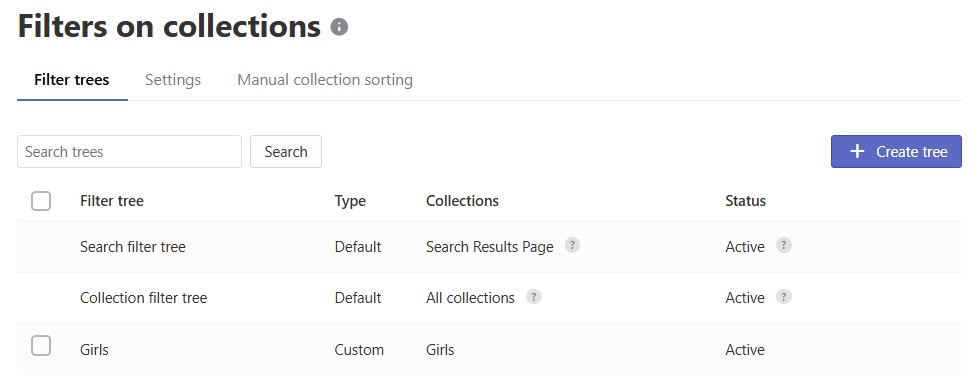
A Filter tree is a specific set of filters that can be assigned to any collection or the search results page. There are two default Filter trees that cannot be deleted:
- Search filter tree
- Collection filter tree
You can also create an unlimited number of custom Filter trees and assign them to your collections.
Default filter trees
Search filter tree
The Search filter tree is the set of filters that appears when the search results are displayed.
To edit the Search filter tree, ensure that the Search Results widget is enabled, as it is by default: Search & Navigation > Search results widget section.
All new filters created in the Filter list will appear in the Search filter tree.
Collection filter tree
To edit the Default Collection filter tree, you need to activate the feature Filters on collections in the second tab of this section.
If no custom trees are created and assigned to collections, this default tree will be displayed on all collection pages.
Custom filter trees
To create a custom tree, you need to activate the feature Filters on collections in the second tab of this section.
Custom filter trees can be assigned to specific collections. A custom filter tree can be applied to multiple collections at once, but each collection can have only one Filter tree.
Creating Filter trees
- Click the Create tree button.
- Enter the Filter tree’s name. It’s only for your use and won’t be displayed on the storefront.
- Choose the collection to which you want to apply your Filter tree.
- Select the Status — either Active or Hidden.
- Navigate to the second tab Filters and click the Add filters button.
- Select the filters you need for your Filter tree. The available filters are sourced from the Filter list. You can use the Select all option or manually tick the checkboxes for the necessary filters. Click Add filters.
- Adjust the filters’ Position and Status by selecting the filter via the checkbox and clicking Edit selected. To delete filters from a particular Filter tree, select them and click Remove.
- Save the changes.
Filter tree can be applied to multiple collections at once. But each collection can have only one Filter tree.
Adjusting Filter trees
To edit any Filter tree, click the pencil icon next to the tree. In the opened tab, you can:
- add a filter to the Filter tree: click the button Add filters in the top-right corner
- edit a filter of the Filter tree: select the filter via the checkbox on the left, click Edit selected, and change the status (Active/Hidden) and position
Such filter settings as Appearance, Displayed values, and other settings are adjusted in the Filter list section
- remove a filter from the Filter tree: select the filter via the checkbox on the left and click the Remove button
Don’t forget to save the changes.
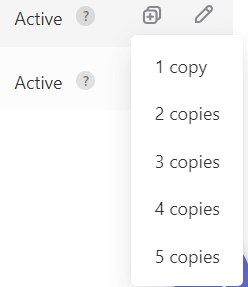
Copy up to 5 Filter trees at once. The copies, named ‘Copy of [base Filter tree title],’ will be identical to the base Filter tree and appear in the Custom Filter trees list, right below the Filter tree that was copied. New Filter trees will not be assigned to any collections.
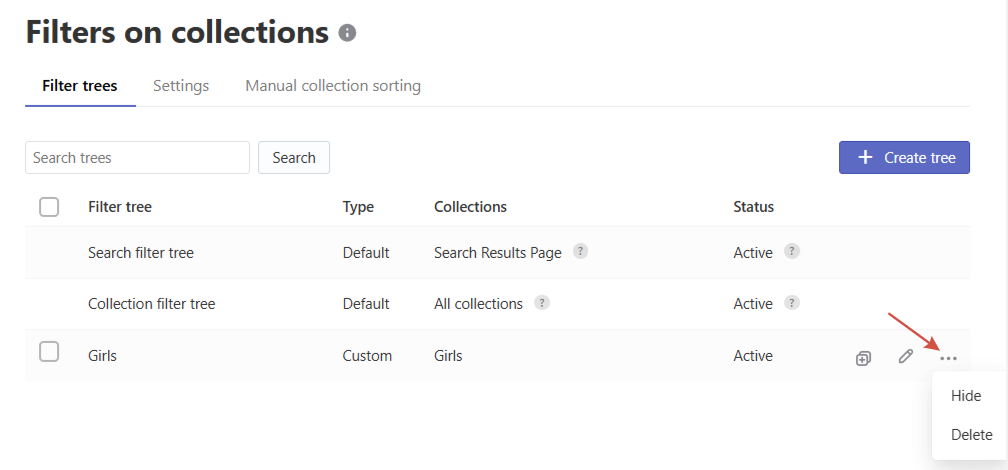
Hide or delete a Filter tree by clicking on its settings. Default Filter trees cannot be deleted.