Introduction
If you’ve set up more than one inventory locations in your Shopify store, you can add a filter based on them in the app. It allows your shoppers to narrow down search results by choosing particular locations.
Set up a Filter based on locations
To set up the filter by locations, follow these steps:
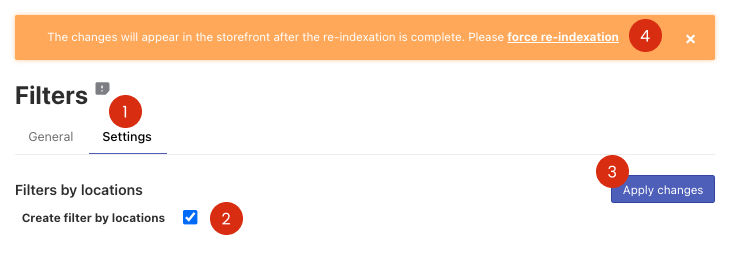
- Go to Filters > Filter list > Settings tab > Filters by locations part.Note
The Filter by locations part is shown only if your Shopify store has multiple locations.
- Select the Create filter by locations setting.
- Apply the changes.
- Click the link at the top or the Force re-indexation button on the left-hand side to start the indexation.
That’s it. After indexation is complete, you can take a look at your new Location filter named “Available At” in Filters > Filter list section > Filters tab and on the storefront.
Delete a Filter based on locations
You can hide the filter by locations or delete it completely. To delete it, follow these steps:
- Go to Filters > Filter list > Settings tab > Filters by locations part.
- Clear the Create filter by locations setting.
- Apply the changes.
- Click the link at the top or the Force re-indexation button on the left-hand side to start the indexation.
That’s it. After indexation is complete, the filter by locations will be deleted from the app.