A Countdown Timer Bar is a dynamic full-width banner with a time counter that appears at the top or bottom of the visitor’s browser window as the site loads. The bar includes a notification about your promotional campaign, a time counter, and a button with a call to action. The message on the bar informs customers about a limited-time sale, and the counter displays the time left before the end of the promotion. When your customers click on the button, it redirects them to the special offer page you have pre-defined.
Example of a Countdown Timer Bar:

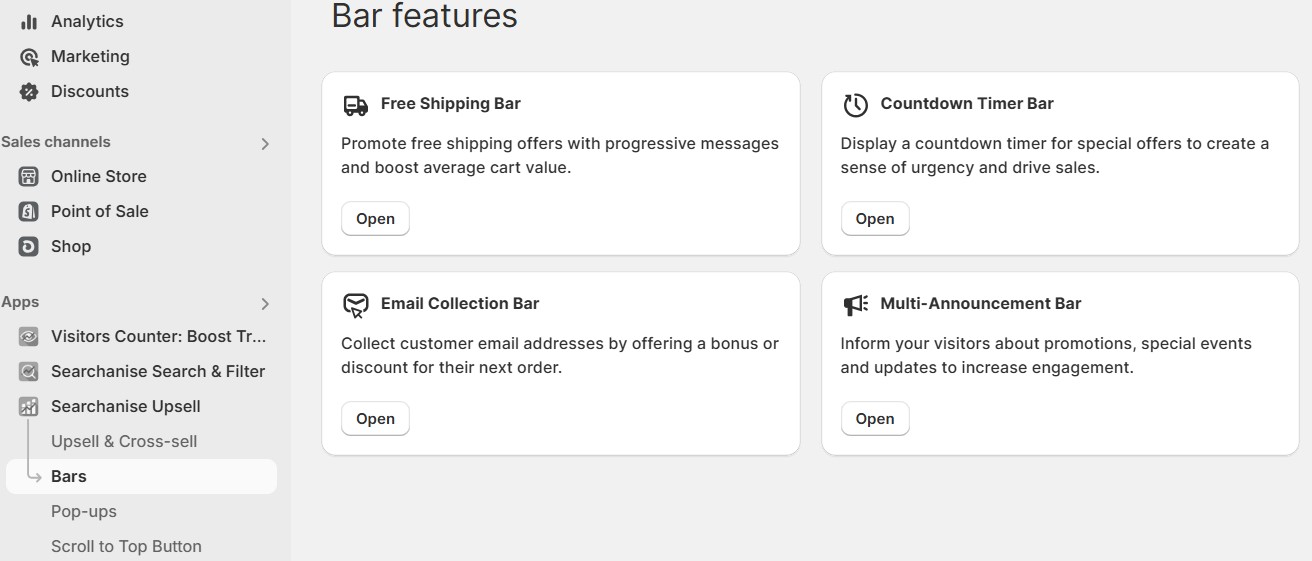
The feature is located: Shopify admin > Searchanise Upsell & Marketing > Bars > Countdown Timer Bar.
Activation in the Theme Editor
You can activate the Countdown Timer Bar by clicking the button at the upper right. The app will display a bar in your Online Store if it has a visible status.
After you hit Activate app, the app redirects you to the theme editor’s App embeds tab. To activate the app, switch the toggle on and save the changes.

To deactivate the app, follow the steps above and switch the app embed off.
Creating a Countdown Timer Bar
You can easily add a Countdown Timer Bar to your Shopify store. To create a bar, follow these steps:
- From your Shopify admin, go to the Searchanise Upsell & Marketing admin.
- Open the Countdown Timer Bar app.
- Click Create Bar.
A new bar is added to the top of the bar list.
By default, the status of a new bar is set as hidden. You can activate its display by clicking on the status name, which switches its value to visible. A dialog box will ask you to confirm the action.
You can also clone an existing bar by clicking on the duplicate icon in the Action column of the bar list. The bar you cloned is added to the list and contains the same title as the original bar plus the clone mark.
To find an existing bar, enter its title in the Search and Filter box provided at the top of the bar list.
Configuring a bar
You can configure a bar from the Edit Bar page by clicking on the pencil icon in the Action column of the bar list. Here, you can configure the bar design, content, and display rules.
- Specify the Bar title, which is visible only to you for your guidance. The Bar title is hidden from your store visitors. By default, the bar you create has an auto-generated title consisting of a set of letters and numbers.
- Set the Bar status to manage its visibility in your Shopify store.
- Click Preview at the upper right to see how the bar appears to your customers.
Timer messages
- Edit the message texts, which will appear on the special offer banner of your Shopify store. By default, the message contains placeholder values.
- To fit your Shopify store brand, set up the Font family and Font size of the message texts and button text.
Bar clickable
Configure interactive button content, design, and display rules:
- Bar clickable: A button can be added to or removed from the banner
- Button text
- Button URL: The page link that will open when hitting the button. You can enable the option to open the link in a new tab.
- Animation type: Motion pattern of the animated button
- Button animation: Dynamic display of the button: on or off
- Close button: You can add a close button to the banner by ticking the checkbox.
Timer options
- Select the timer display type:
- Always display (according to the general Start and end display time setting)
- Display and hide period (alternation of periods in specified hours)
- By schedule (working hours per week)
- By session (time per one session)
- Set up your schedule using the Start and end display time options for banner display
- Optional: apply User timezone detection by user IP address or select a time zone for a specific plan from the drop-down list
Bar template
Select one of the ready-made design templates for the banner or set your color to match your store’s style.
Display position
- Bar padding: adjust the height of the bar by changing the bar padding.
Select the bar display position on your Shopify store page from the following options:
-
- Top relative: The bar sits at the top of your site and fades into and out of view as the site page scrolls
- Top fixed position: The bar is always displayed at the top of your site
- Bottom relative: The bar sits at the bottom of your site and fades into and out of view as the site page scrolls
- Bottom fixed position: The bar is always displayed at the bottom of your site
Display rules
You can control the bar visibility based on a custom condition. Here, you can decide how and when to display the special offer notification in your Shopify store:
-
Select the visitor target device to display bar on: mobile and/or desktop
-
Restrict availability of your special offer for some Shopify store pages
| Display the bar on | Do NOT display the bar on |
|---|---|
| All pages Home page Product page Search results page Cart page Collections Custom link (add any page link of your store) Keywords (add any keyword from the store page URL) | Off Home page Product page Search results page Cart page Collections Custom link (add any page link of your store) Keywords (add any keyword from the store page URL) |
Geolocation
If you want to restrict the display of the bar to your visitors in different countries, you can add locations where the banner can be displayed or exclude them based on the IP address of the visitor:
- Location where the Countdown Timer Bar is displayed
- Click Add new Location.
- Start entering a location and then select one of the options suggested.
- Location where the Countdown Timer Bar is not displayed
- Click Add new Location.
- Start entering a location and then select one of the options suggested.
If you want to remove the location, hit the delete icon. A dialog box will ask you to confirm the deletion.
Deleting a bar
If you want to delete a bar, click on the delete icon in the Action column of the bar list. A dialog box will ask you to confirm the action by clicking Delete.