An Email Collection Bar is a full-width banner that sticks to the top or bottom of your Shopify page and prompts visitors to subscribe to receive a special offer discount. The bar includes a promotional notification message, an input email field, and a button with a call to action. When your customers click on the button, they get a discount coupon code, which they can copy and apply to a future purchase. The banner can be displayed on any page of your store.
Example of an Email Collection Bar:

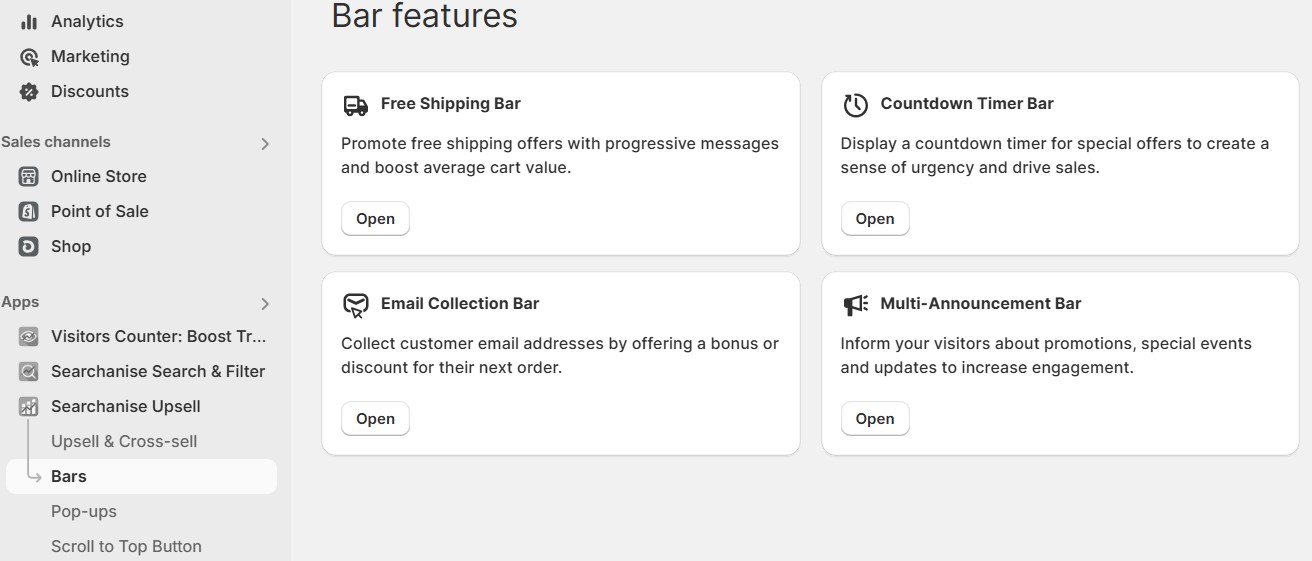
The feature is located: Shopify admin > Searchanise Upsell & Marketing > Bars > Email Collection Bar.
Before you start
- If you want to create a fixed discount coupon, create and configure it in the Shopify Discounts settings (see Create a fixed value or percentage discount). After making your Discount codes, you can copy and input them into the Email Collection Bar settings.
- If you choose to introduce unique discount codes, they will be created automatically.
- To issue store credits for leaving an email, first go to Shopify settings > Customer Accounts > Store credit, and toggle the feature on.
When creating your Email Collection Bar coupon, the codes you input into the bar settings should match those you set up in your store’s Discounts settings.
Activation in the Theme Editor
You can activate the Email Collection Bar by clicking the button at the upper right. The app will display a bar in your Online Store if it has a visible status.
After you hit Activate app, the app redirects you to the theme editor’s App embeds tab. To activate the app, switch the toggle on and save the changes.
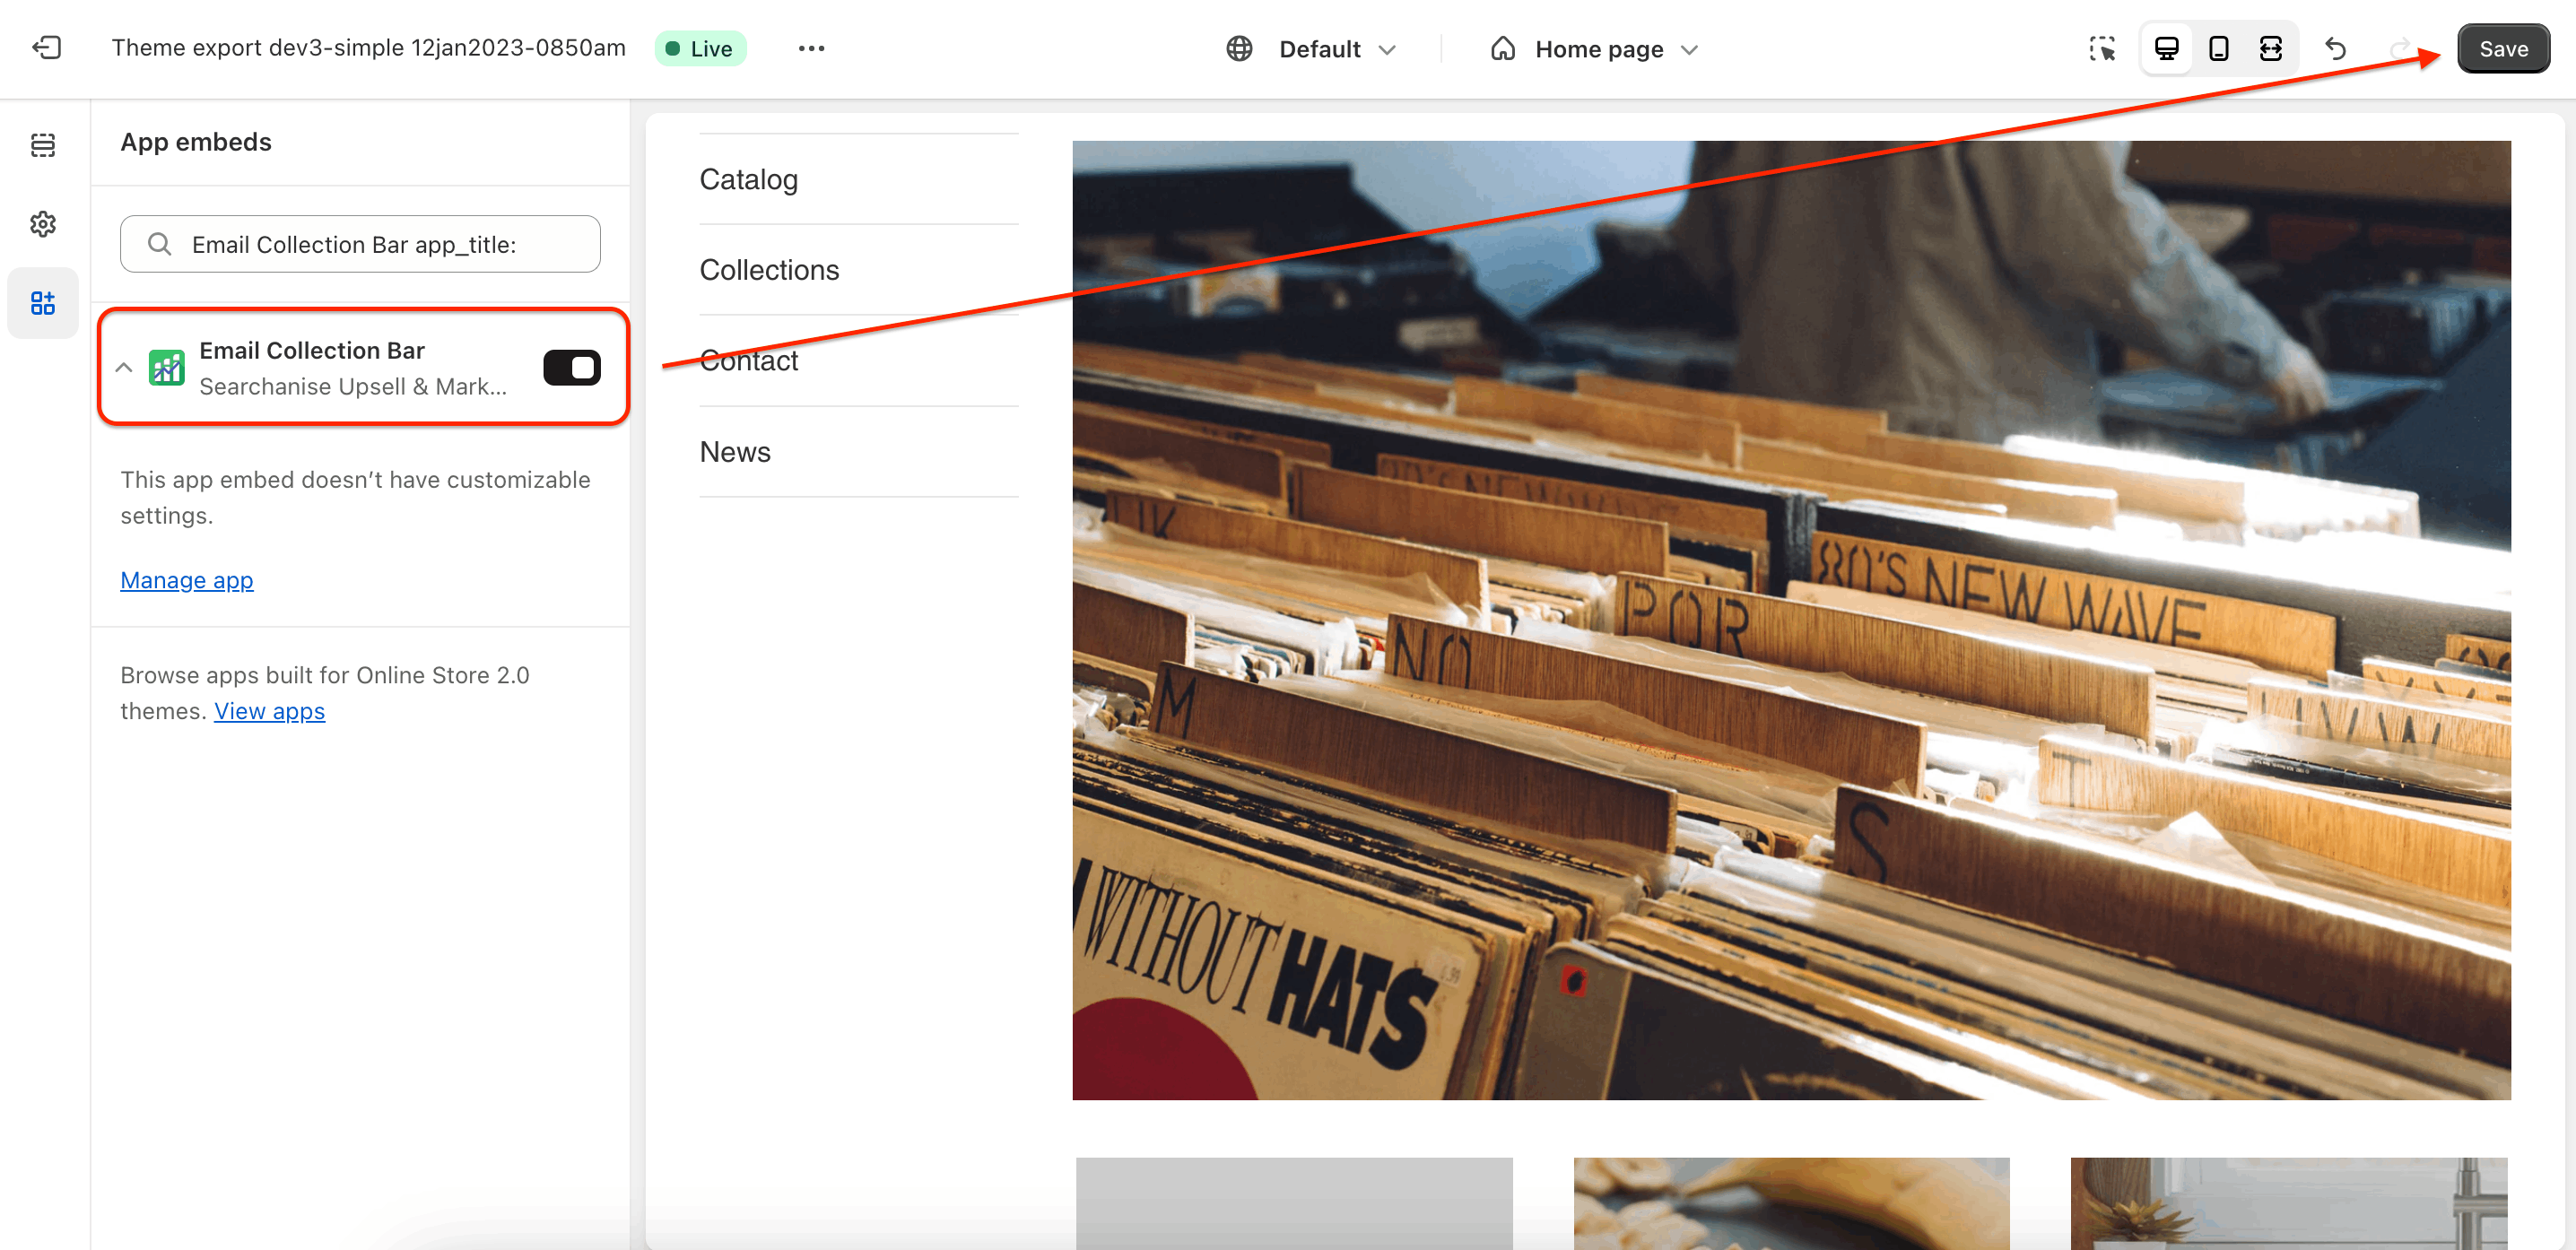
To deactivate the app, follow the steps above and switch the app embed off.
Creating an Email Collection Bar
You can easily add an Email Collection Bar to your Shopify store. To create a bar, follow these steps:
- From your Shopify admin, go to the Searchanise Upsell & Marketing admin.
- Open the Email Collection Bar app.
- Click Create Bar.
A new bar is added to the top of the bar list.
By default, the status of a new bar is set as hidden. You can activate its display by clicking on the status name, which switches its value to visible. A dialog box will ask you to confirm the action.
You can also clone an existing bar by clicking on the duplicate icon in the Action column of the bar list. The bar you cloned is added to the list and contains the same title as the original bar plus the clone mark.
To find an existing bar, enter its title in the Search and Filter box provided at the top of the bar list.
Configuring a bar
You can configure a bar from the Edit Bar page by clicking the pencil icon in the Action column of the bar list. Here, you can configure the bar design, content, and display rules.
- Specify the Bar title, which is only visible to you for your guidance. The Bar title is hidden from your store visitors. By default, the bar you create has an auto-generated title consisting of a set of letters and numbers.
- Set the Bar status to manage its visibility in your Shopify store.
- Click Preview at the upper right to see how the bar appears to your customers.
Reward
Select whether you want to issue Shopify Store credits or a Discount. There are several types of discount coupon:
| Coupon type | Description |
|---|---|
| Fixed | Create the discount code in the Shopify Discounts settings, copy the code, and paste it to the Coupon code the customer gets field |
| Unique | No need to create it. It’s automatically generated for each of your store visitors individually. When applied, the unique code appears in the Discounts in your Shopify admin. Here, you can also specify the Discount code prefix, Discount size, and the Discount type as a fixed value or percentage discount. |
| No discount | No coupon given after subscription |
Bar template
You can select one of the ready-made design templates for the banner or set your color to match your store’s style.
Display position
- Bar padding: Adjust the height of the bar by changing the bar padding.
- Select the bar display position on your Shopify store page from the following options:
- Top relative: The bar sits at the top of your site and fades into and out of view as the site page scrolls
- Top fixed position: The bar is always displayed at the top of your site
- Bottom relative: The bar sits at the bottom of your site and fades into and out of view as the site page scrolls
- Bottom fixed position: The bar is always displayed at the bottom of your site
Text settings
Edit the displayed message texts for the promotional banner on your Shopify store. By default, message fields contain placeholder values. It’s up to you to create content for your:
-
- Initial message of the promotional banner
- Message after subscription, which provides a special offer
- Set up the style of the messages.
- Add opt-in checkbox: Display the checkbox for the users to consent to join your mailing list.
- Set up the text and style of the opt-in checkbox.
Action settings
Configure button content, design, and display rules:
- Button text for a call to action
- Display close button: Allows you to add a close button to the banner and set up the closing time after closing the bar before displaying it for the second time.
Settings for returning customers
Greet returning customers: Allows you to add a message after user return and select the coupon type after user return.
If you enabled the Shopify Store Credits reward, you can decide whether to grant the credits to returning customers or not.
Filter options
Decide how and when to display the promotion in your Shopify store:
- Select the visitor target device to display bar on: mobile and/or desktop
- Restrict availability of your special shipping offer for some Shopify store pages
| Display the bar on | Do NOT display the bar on |
|---|---|
| All pages Home page Product page Search results page Cart page Collections Custom link (add any page link of your store) Keywords (add any keyword from the store page URL) | Off Home page Product page Search results page Cart page Collections Custom link (add any page link of your store) Keywords (add any keyword from the store page URL) |
- Select the display time option: permanent or custom
If you want to show the banner according to a particular schedule, follow these steps:
- Select the custom value in the Display time selector.
- Set up your schedule using the Start and end display time options for banner display.
- Optional: apply User timezone detection by user IP address or select a time zone for a specific plan from the drop-down list.
Geolocation
If you want to restrict the display of the bar to your visitors in different countries, you can add locations where the banner can be displayed or exclude them based on the IP address of the visitor:
- Location where the Email Collection Bar is displayed
- Click Add new Location.
- Start entering a location and then select one of the options suggested.
- Location where the Email Collection Bar is not displayed
- Click Add new Location.
- Start entering a location and then select one of the options suggested.
If you want to remove the location, hit the delete icon. A dialog box will ask you to confirm the deletion.
Deleting a bar
If you want to delete a bar, click on the delete icon in the Action column of the bar list. A dialog box will ask you to confirm the action by clicking Delete.