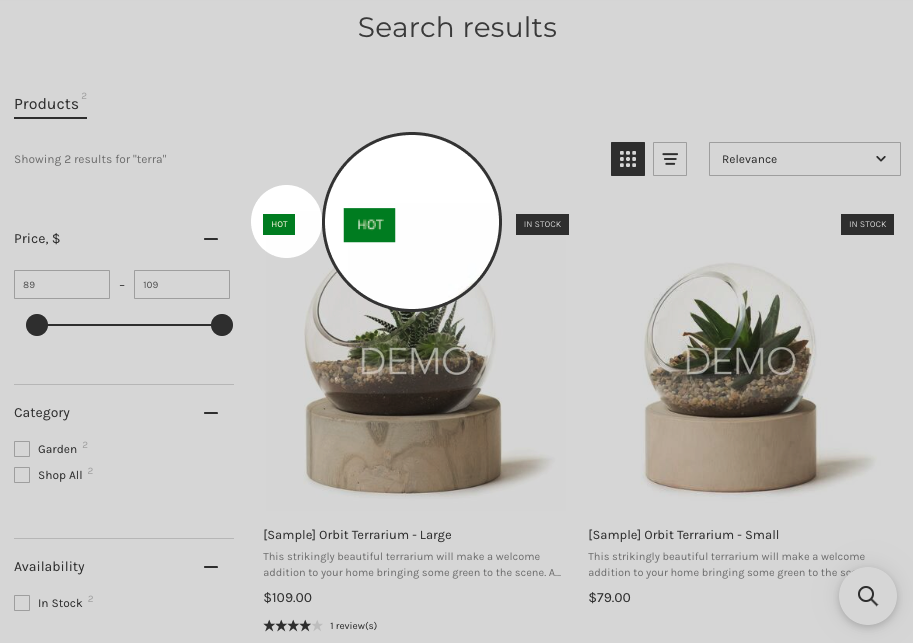
You can set up Custom Labels for products based on their Custom Fields to highlight specific products in search results. In this article, you learn how to adjust Custom Labels in the Search Results Widget. To do so in the Instant Search Widget, see the instructions here.
Add a Custom Label
You can add Custom Labels based on the product Custom Fields you adjusted for the search. Before adding the Custom Labels, make sure that the Custom Fields, which you want to use, are set up in the Search & Navigation > Preferences section > Products tab > Search by custom fields setting.
To add a Custom Label, follow these steps:
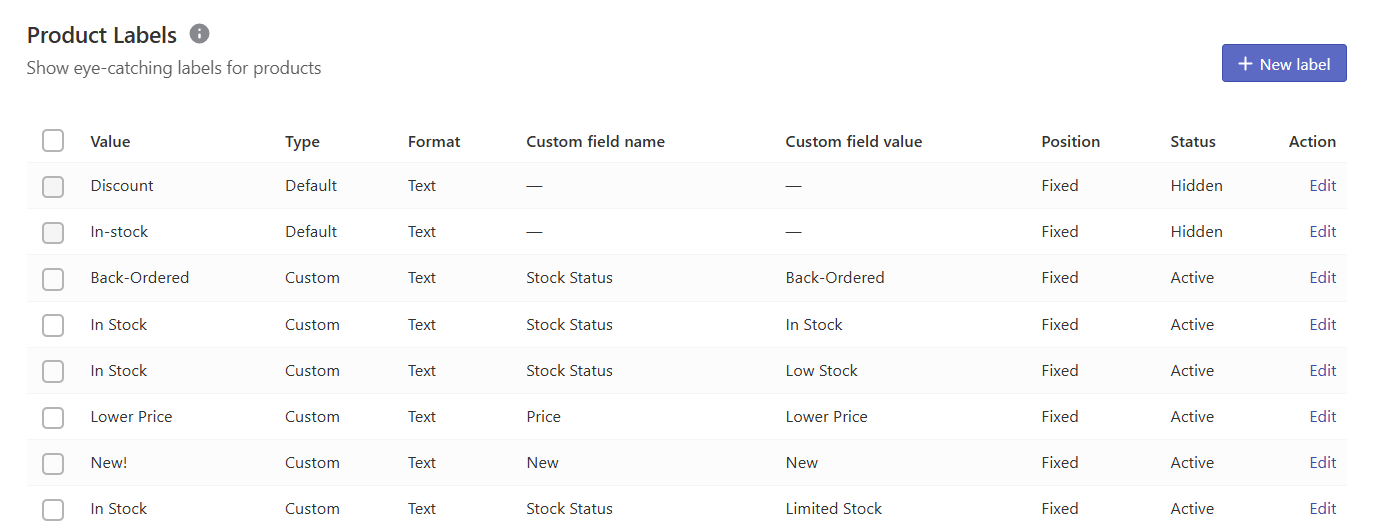
- Go to the Searchanise control panel > Search & Navigation > Search results widget section > Product Labels tab.
- Click the + New Label button.
- Set up the label options:
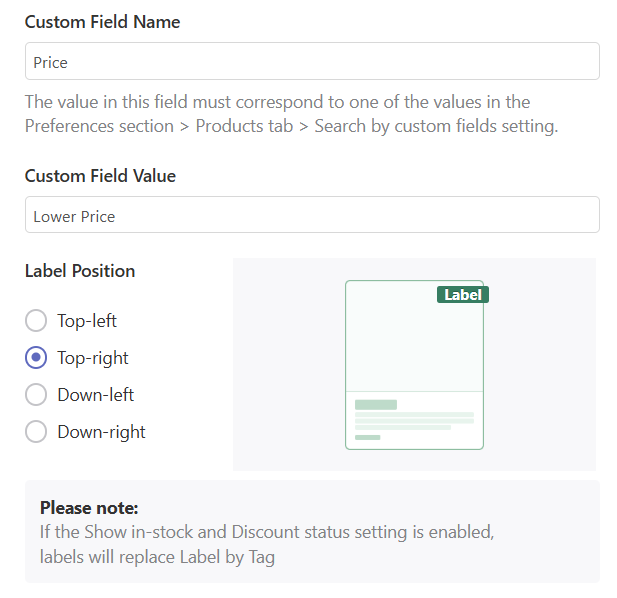
- Custom Field Name – enter the name of a Custom Field into the text box. The name of the Custom Field must correspond to one of the values in the Search & Navigation > Preferences section > Products tab > Search by custom fields setting.
- Custom Field Value – enter the value of a Custom Field into the text box.
- Label Position – select the place where you want to show the label.
- Label type – you can show labels as text or images.
- Text – enter the text which will serve as the label, if you select the Text label type.
- Background color – enter or select the background color of the label, if you select the Text label type.
- Text color – enter or select the text color of the label, if you select the Text label type.
- Image – select the image to show, if you select the Image label type. You can choose between 2 ready-made label images (New and Sale) and your own image. To add your own image you’ll need to insert the image URL to the corresponding field.
NoteIf the Discount Labels or In-stock Labels are also active, only one of the labels can be shown in the position. Custom Labels have a higher priority than Discount Labels and In-stock Labels have a higher priority than Custom Labels.
- Click the Save label button in the top-right corner.
That’s it. The added Custom Label is now displayed in the Search Result Widget for products with the Custom Field equal to the Custom Field assigned to the Custom Label.

Edit a Custom Label
To edit Custom Labels, follow these steps:
- Go to the Searchanise control panel > Search & Navigation > Search results widget section > Product Labels tab.
- Click the Edit link next to the label you want to edit.
- Edit the label options.
- Click the Save label button in the top-right corner.
Delete Custom Labels
To delete Custom Labels:
- Go to the Searchanise control panel > Search & Navigation > Search results widget section > Product Labels tab.
- Select a checkbox next to the label you want to delete.
- Click the Delete selected button.
- Confirm.
The Custom Labels can be customized further with the help of the Custom CSS feature. If you need help with that, feel free to contact us. Our support team will gladly help tweak them the way you want.
We’d appreciate it if you could take some time to leave a review.


