1. Installation
You can add our app to your store through the Shopify App Store. To do so, follow these steps:
- Log in to the Shopify App Store.
- Go to the Searchanise Search & Filter app listing page.
- Click the Add app button.
- In your Shopify admin, click Install app to authorize the use of the app.
After the app is installed, the indexation starts to import search data into it. It takes some time. You can view and manage our app using the Searchanise Search & Filter control panel, located in the Shopify admin panel > Apps > Searchanise Search & Filter. In the sidebar of the control panel, you will see the progress of the indexation.
2. Checking if the app is working
Once the indexation is complete, you can check how it works. See the instructions on how to do so here.
Before troubleshooting or testing the widget, please make sure of the following:
- App is enabled on the live theme.
If the widget doesn’t appear on the store, check if the app is active in your theme, see How to change Searchanise status on your themes. -
Widget loading issues
If the widget does not load or takes too long to load, see the Widget doesn’t appear on page load instructions. -
Conflict with theme autocomplete
If the widget opens together with your theme’s built-in autocomplete, see How to disable the theme’s built-in autocomplete. -
Conflicts with other search apps
If you have multiple search apps installed, they may conflict with each other on the storefront. For accurate testing, temporarily disable or remove the other search apps.
3. Adjusting the Instant Search Widget
3.1. Adjusting content
You can think up what data to display or hide in the widget and change its default content. It is possible to hide the widget sections: pages, categories, products, or suggestions. It is also possible to hide product prices or SKUs. See the instructions on how to do so here.
3.2. Adjusting look and feel
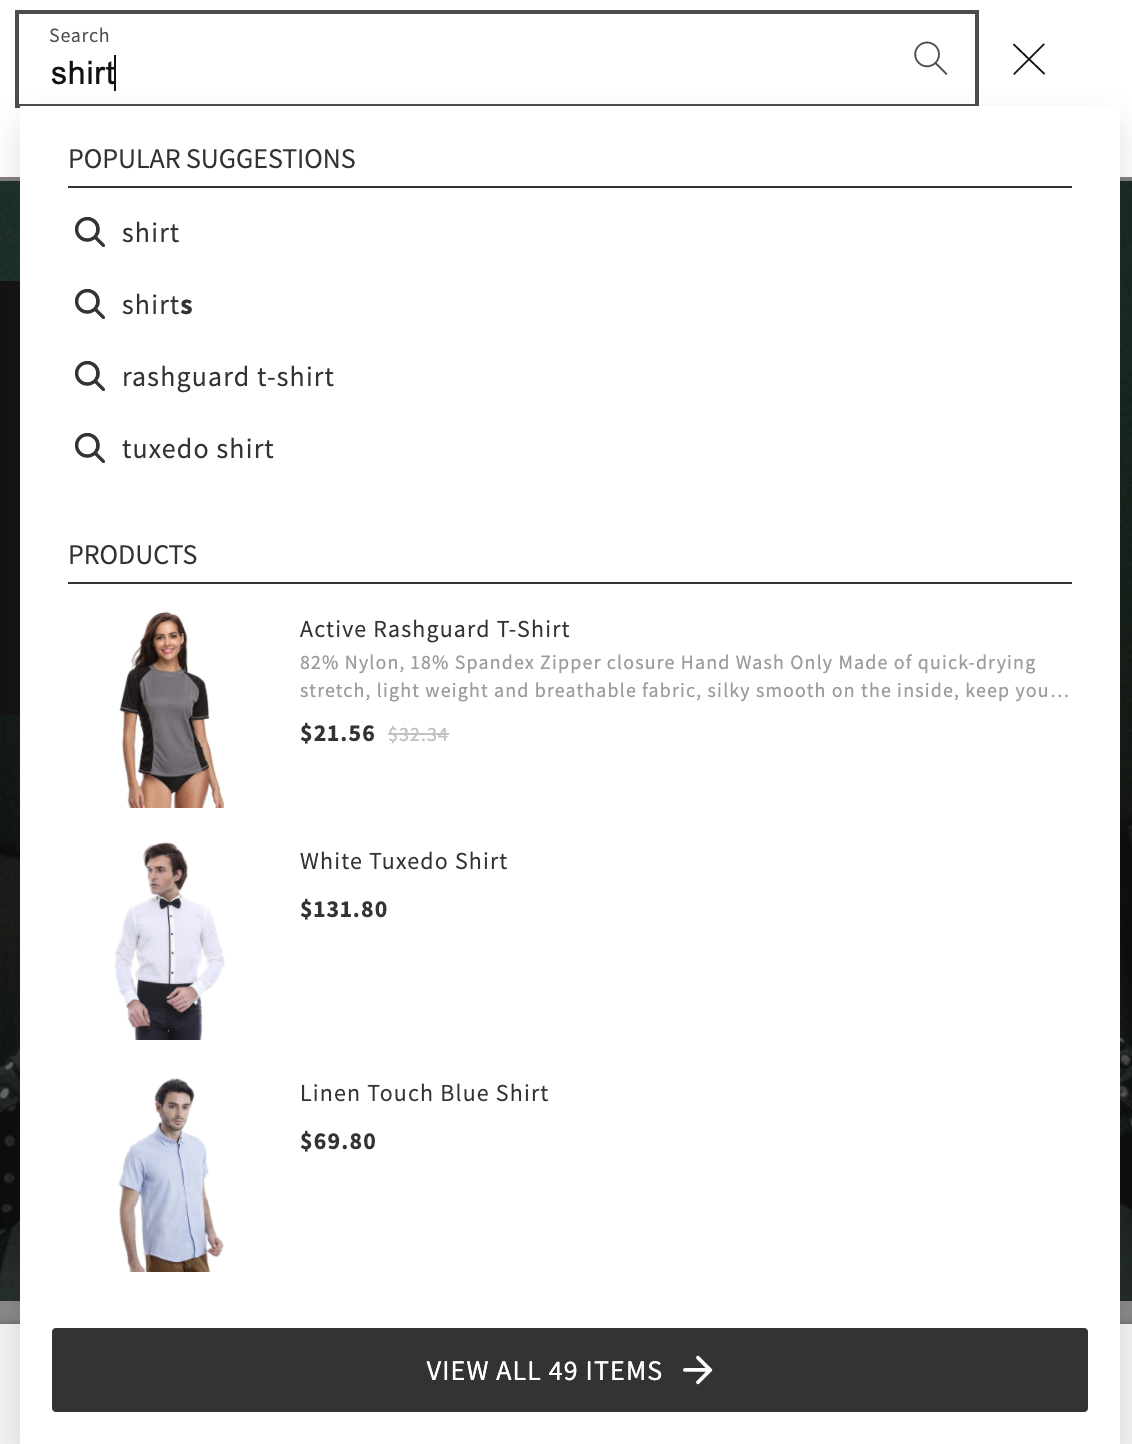
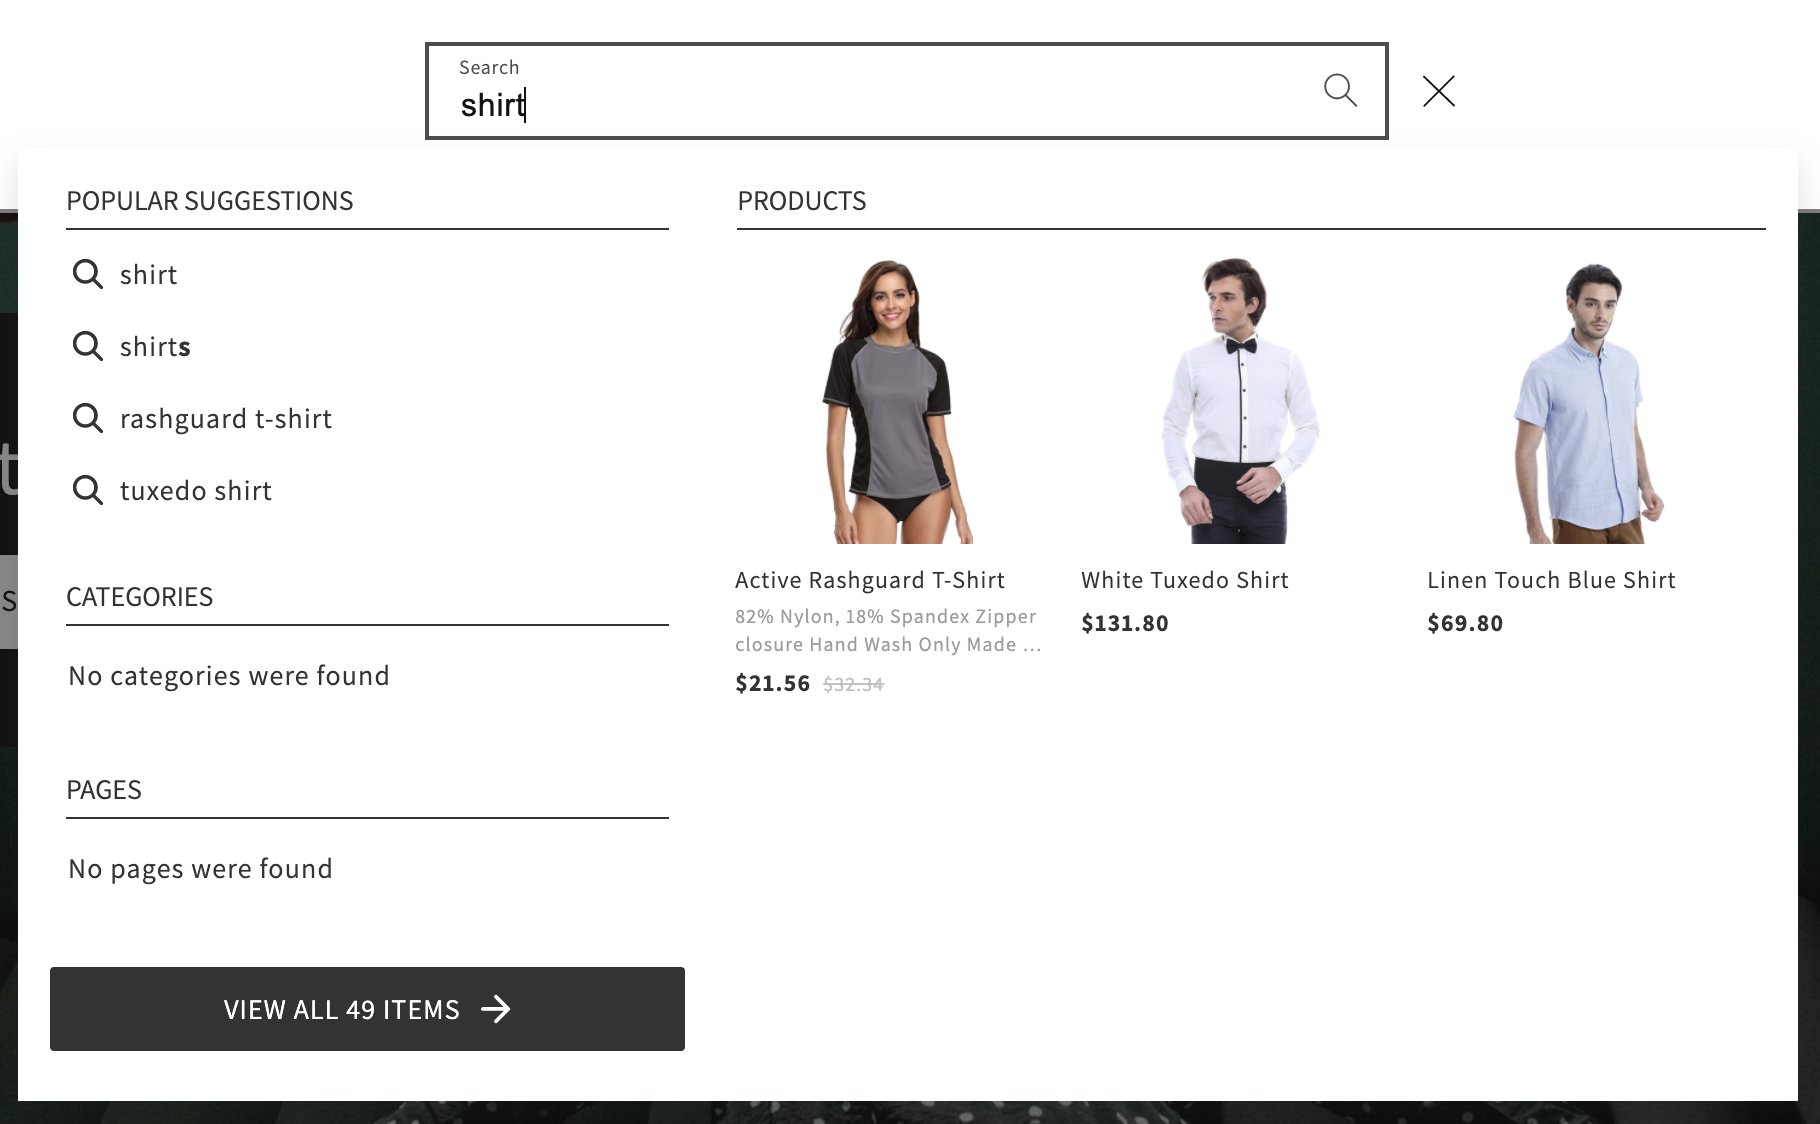
You can choose either a single-column or multi-column widget’s template in the Searchanise Search & Filter control panel > Search & Navigation > Instant search widget section > Template & Style tab.
Single Column template
Multi-Column template
You can also adjust colors for the widget’s template to suit your store look and feel more. See the instructions on how to do so here.
4. Adjusting the Search Results Widget
4.1. Adjusting look and feel
It is set up the up-to-date widget’s template by default. You can change the widget colors to match your store style guide. See the instructions on how to change colors here.
4.2. Adjusting content
As well as in the Instant Search Widget, you can adjust what data to show in the Search Results Widget. See the instructions on how to do so here.
5. Adjusting Filters
By default, the app provides filters with the most common attributes such as price, vendor, product type, availability, collection, and others. You can edit these filters or add your own. See detailed instructions here.
You can configure filters separately for search results and for collections:
-
Search filters — set up filters for search results in the Search & Navigation > Filters on Collections section > Filter trees tab > Search filter tree.
-
Collection filters — set up filters that appear on collection pages. This option is available only if the Filters on collections feature is enabled. You can also create different filter sets for different collections using filter trees.
6. Setting up Filters on collections
The Filters on collections feature lets you add Searchanise filters to your store’s collection pages so customers can easily filter and sort products.
The Filters on collections feature is not enabled automatically after installing the app. To activate it, go to the Search & Navigation > Filters on Collections section > Settings tab. For detailed steps, see Setting up Filters on collections.
7. Adjusting the search relevance
You can fine-tune your search results and make them more relevant for your shoppers.
It is possible to hide out-of-stock products or adjust showing the ones at the end of the search results, change the product price format, adjust search by metafields, etc. You can do so in the Search & Navigation > Preferences section of the Searchanise Search & Filter control panel.
What is more, you can hide some product details from the search or change their search weight. See the instructions on how to do so here.
8. Going further
The Instant Search Widget and Search Results Widget supply the main functionality of our app. But you can also try to use Banners or merchandising rules to promote products in search results.
If you face any troubles, don’t hesitate to contact us. We will be glad to help you.
We’d appreciate it if you could take some time to leave a review.